A digital audio workstation makes experimenting with routing options incredibly quick and easy. How can we use different routing options with regards to the use of a compressor? Should you apply a compressor to a single track or on a bus? In series or in parallel? What are the options and why should you care? Let's explore some of the most commonly used routing options and how to use them.
Compressing the source
The most common option is to simply insert a compressor across a single track in your DAW (mono or stereo). When you do this you're applying compression to the source by processing all the audio running through the compressor. In your DAW it is as simple as loading up a compressor plug-in on the channel's insert slot. The insert slots are most commonly wired in series so the signal goes through insert 1, then 2 etc... Compressing the source with this routing option is by far the quickest and easiest method for using a compressor. If you're using multiple plug-ins on the channel inserts it is important to be aware of the compressor's position in the chain. Think about the signal that goes into the compressor. On a vocal track for example, you probably don't want the compressor to react to sounds that you were planning to get rid of with EQ, for example low-end rumble.
Compressing the bus
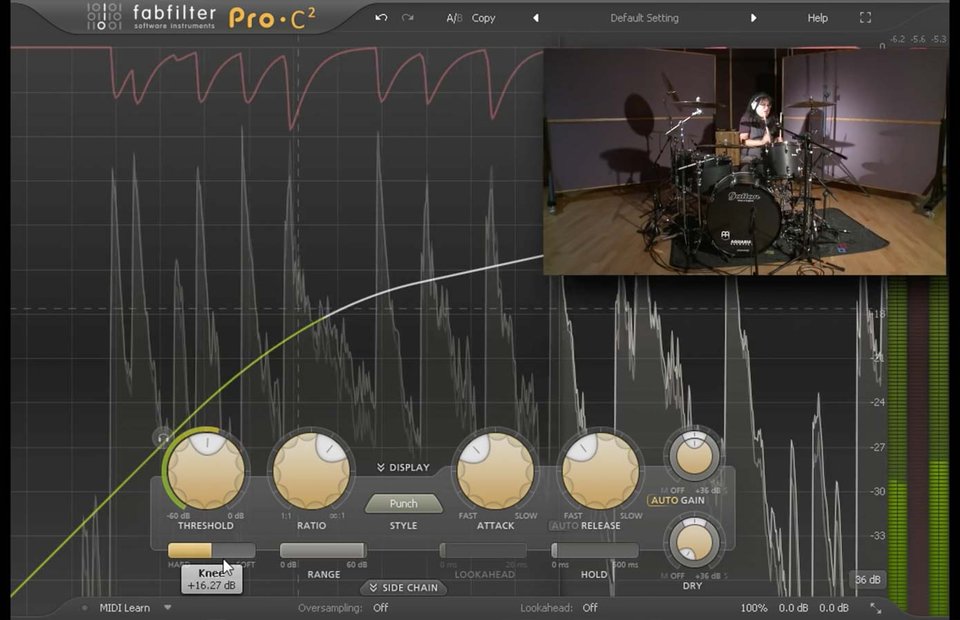
The most common way to process drum tracks is routing the individual tracks of a drumkit (i.e kick, snare, hi-hat, room etc) to an auxiliary bus in a DAW. When you do this all the tracks are combined to a stereo track under one fader. By initiating a compressor on the bus we can effectively compress the whole drum kit while leaving the overall balance of the individual tracks intact. This is a very powerful technique that allows you to shape the overall tone of the drumkit. By using fast attack and release times and a fair amount of gain reduction you can easily excite the drums and make them sound punchier and livelier in a track. You can also use this technique for stereo acoustic guitars, vocal groups, string sections or any other track group.
Compressing a combination of busses
By compressing a combination of multiple busses i.e a drum bus and a bass bus, you can allow specific groups in the arrangement to share the same movement of gain reduction. This technique works particularly well on drums and bass as they often have a strong rhythmic relationship and occupy the same frequency range in a mix. If you want to take this to the next level you can extend this technique for every group in a mix that share a close relationship, for example keys and strings, vocals and effects, electric and acoustic guitars, etc. This combination is largely made popular by Michael Brauer which baptised this technique the "Brauerize" technique.
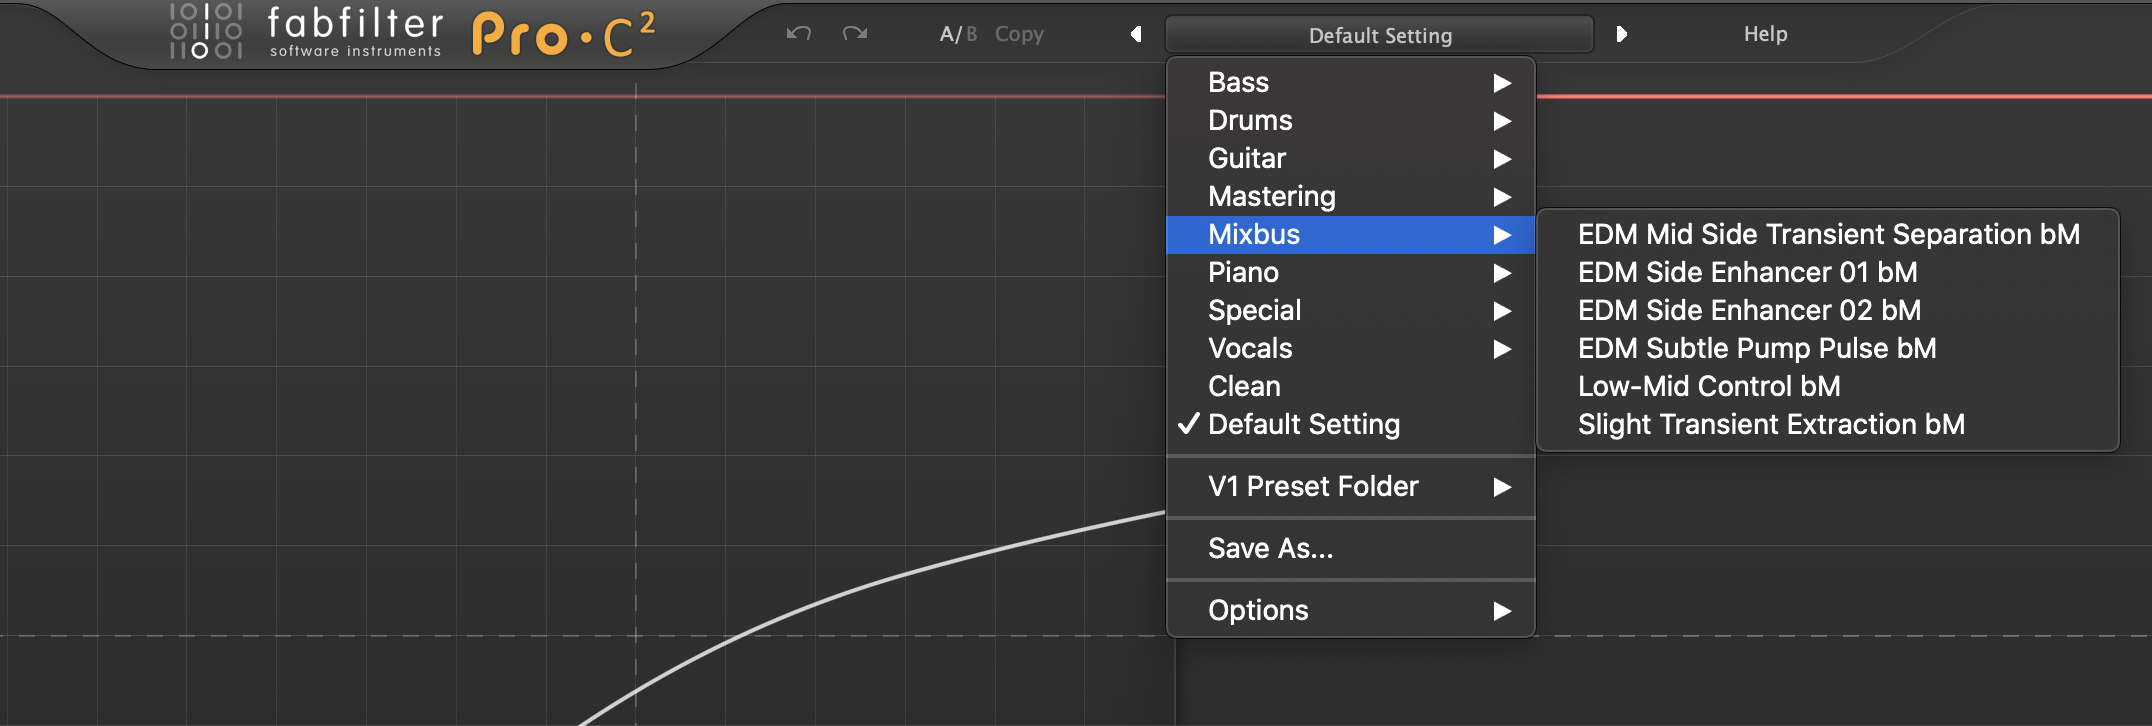
Mix bus compression
Another popular compression technique is mix bus compression. With its introduction in the late 70s, mix bus compression became an inherent part of the 80s sound as recording console manufacturers started building recording consoles with built-in bus compressors.
So, what is a bus compressor? A bus compressor is nothing more than a stereo compressor across an auxiliary or the main mix bus. All tracks feed into the same compressor and are treated the same way. Beyond controlling the dynamics of a track, which is often done at the mastering process, mix bus compression is used to create a consistency many engineers refer to as "glue". The "glue" that many engineers associate with mix bus compression is brought about by groups of instruments sharing the same movement of gain reduction due to the shared attack and release characteristics.
The first thing to keep in mind when you use a mix bus compressor is that anything you do affects all the tracks of your mix. Because a mix bus compressor alters the dynamic range of the whole track, there’s still some debate about whether this processing should be left to the mastering engineer. Another approach that can yield similar results is to insert stereo compressors on submixes: e.g. all drum tracks go to one compressor, all guitar tracks go to another one, etc. Ultimately there is no right or wrong way to do things as long as you're happy with the result. Choose whatever technique suits you best. However, there are some considerations before adding a mix bus compressor.
- If you decide to add a mix bus compressor to your mix, it’s generally a good idea to add it early on in the mixing process. This way, you’re mixing into the compressor and it will inform the decisions you make as you shape your track. If you start building your mix track by track, keep in mind that the sum of all your tracks will add up and inherently cause more gain reduction to be applied. In other words, be very gentle adding gain reduction early in the process.
- Start by using slow attack times and fast release times and use low ratios; 1.5:1, 2:1 maybe 4:1. Using lower ratios allows the track to breath and preserves dynamic range, while adding that 'sonic glue'. Higher ratios can cause your track to sound flat and dull. Because you want most transient information to stay intact, slow attack times and fast release times assure you you're keeping the transient information of your tracks and you don’t lose any impact. If your track starts to sound dull or flat while you are using low ratios, check your attack and release times.
- Because everything you do affects all the tracks feeding into the compressor, pay special attention to the low end of your mix. Filter the low end rumble of individual tracks and be gentle feeding the bass-heavy elements of your mix into the bus compressor. Since low end takes up a lot of energy it's possible that it can cause the compressor to duck an element in your mix you want to leave untouched. If you then turn the bass down and for example your lead vocal rises in volume it's possible you don’t have enough low end and we've come full circle. In this case chances are you either added too much gain reduction, your ratio is too high or your threshold to low. This might also be the right time to see if you can use a sidechain filter to filter out the low end of your mix.
Mixbus compression can introduce consistency in a mix by groups of instruments sharing the same movement of gain reduction and shared attack and release characteristics. In audio, using a mix bus compressor for this application is often referred to as "adding glue" to a mix.
Parallel compression
As we've covered, the basic idea of compression is reducing the dynamic range by turning down the loudest portions of the signal. However, the action of turning down the louder portions of a signal doesn’t happen instantaneously but rather takes place over a time scale governed by the attack and release controls. The inevitable consequence is that the delicate and louder transient parts of the signal are altered quite drastically. This is one of the biggest reasons why compressors differ from one another and why certain types are preferred over other designs in certain applications. But of course, there might be a situation where you don’t want to alter the peaks at all and simply just want to turn up the softer part of a signal and make a sound appear to have more weight and depth. This is where parallel compression might come in handy. You can apply any of the above techniques in parallel as well.
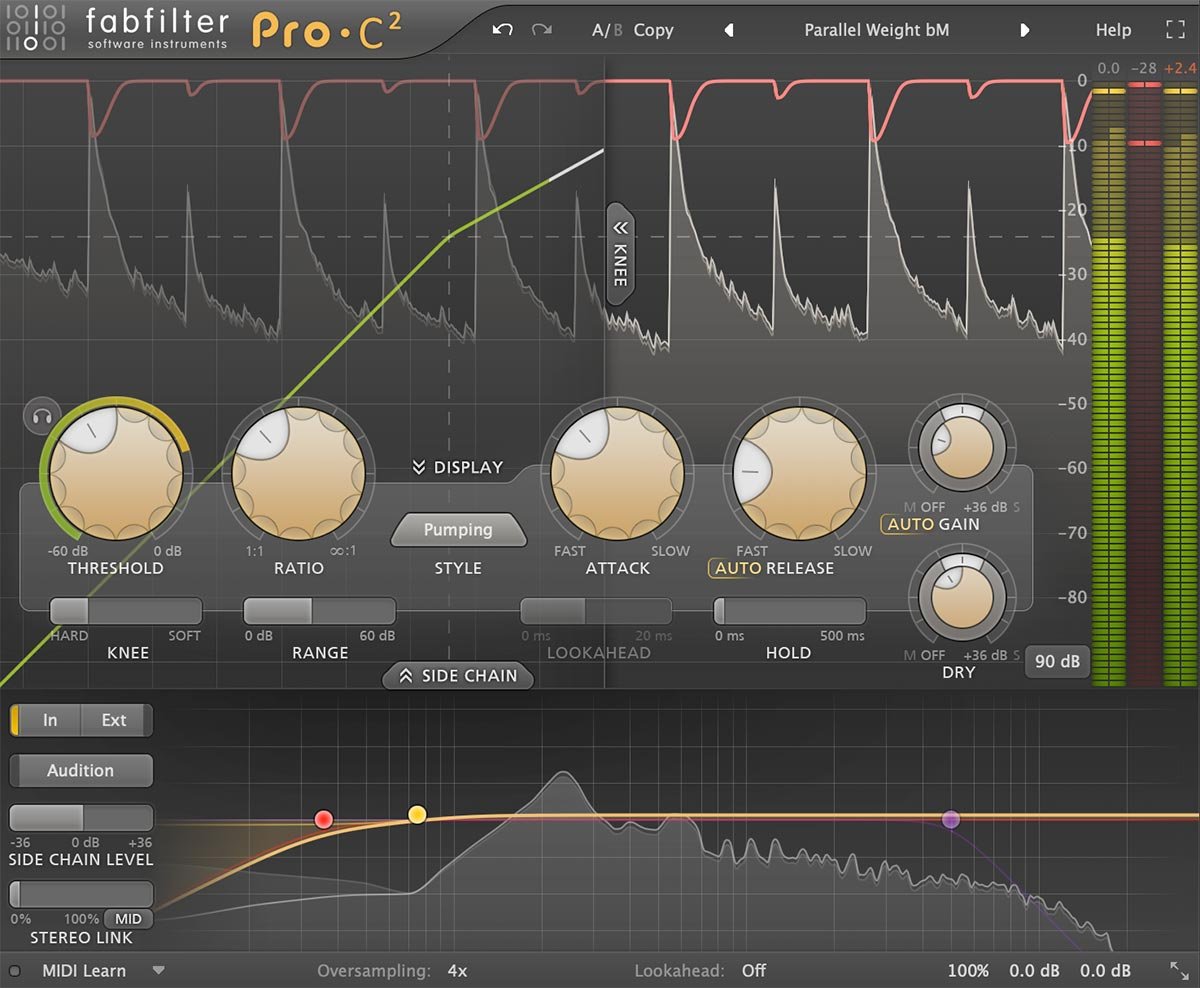
Parallel compression is an interesting technique that is often used to fatten up drum tracks or transparently compress a signal. In short, all we do with parallel compression is mix a heavily compressed, heavily transient reduced signal with the dry and uncompressed signal. This technique allows you to keep the transients of the original signal intact while bringing up the amplitude of lower level details. This technique can be either employed by copying a track or using an auxiliary send. This technique has become so popular over the last decade that a lot of plug-ins have this feature built-in, Pro-C 2 being one of them.
Parallel compression is a perfect technique when you don’t want to alter the peaks and simply only want to turn up the softer part of a signal to make a sound appear to have more weight and depth.
Here are some tips to set up parallel compression;
Start with the fastest attack time possible; this way we make sure we’re attenuating the transient as much as possible. The goal here is to get a consistent signal. Set a high ratio 10:1 or so. When doing this, keep in mind some compressor types may distort due to the way they’re designed, you may or may not want this depending on what you’re trying to achieve.
Aim for a gain reduction of about 20 dB or higher. The trick here is to tuck this heavily compressed signal under the dry signal. Because the compressed signal is well over 20 dB softer on the louder parts than the initial transients of the dry signal, we’re basically leaving the original transient fully intact which is the primary aim of this technique.
You’ll notice that it is a subtle effect but really improves the impact of your track. An additional trick of adding extra impact and punch is to add heavy EQ by adding a 10 to 20 dB of low and high end boost to the compressed signal. You can also increase transients by using slower attack times, just be aware of what you’re doing. In FabFilter Pro-C 2 we've included a dedicated Dry knob so parallel compression becomes quick and easy.