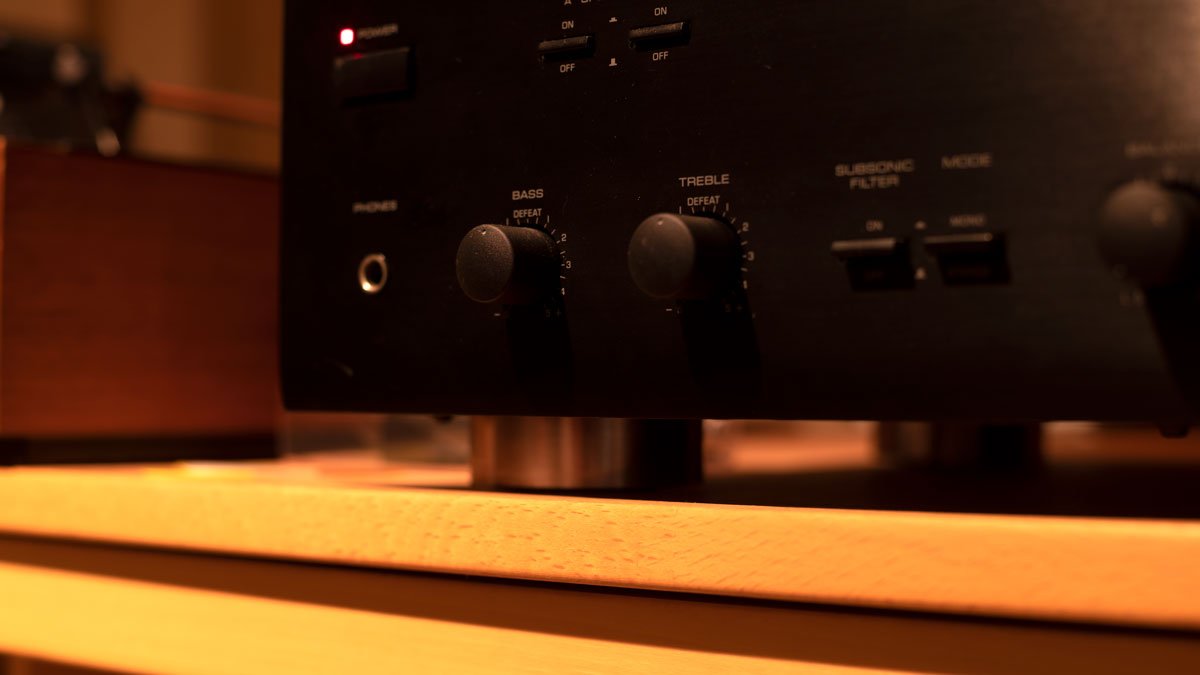
An equalizer (EQ for short) allows you to shape the tonal character of a sound by boosting or attenuating the level of one or more frequencies. Most people will be familiar with equalizers as we use them every day in our home stereos, car stereos and smartphones. In many consumer devices you will find EQ in the form of treble and bass controls, allowing the user to make intuitive changes to the overall tonal character of a song. Learning to apply equalization effectively during a mix requires a bit more practice as one must focus on specific elements within the song and will have to familiarize themselves with the timbre of different instruments to use the tool most effectively.
At the heart of any equalizer is a filter. The filter design defines which frequency range is affected and how. Most professional EQs you will come across offer different filter types giving you more flexibility to deal with different scenarios. Let's meet the filters.
High and low pass filters
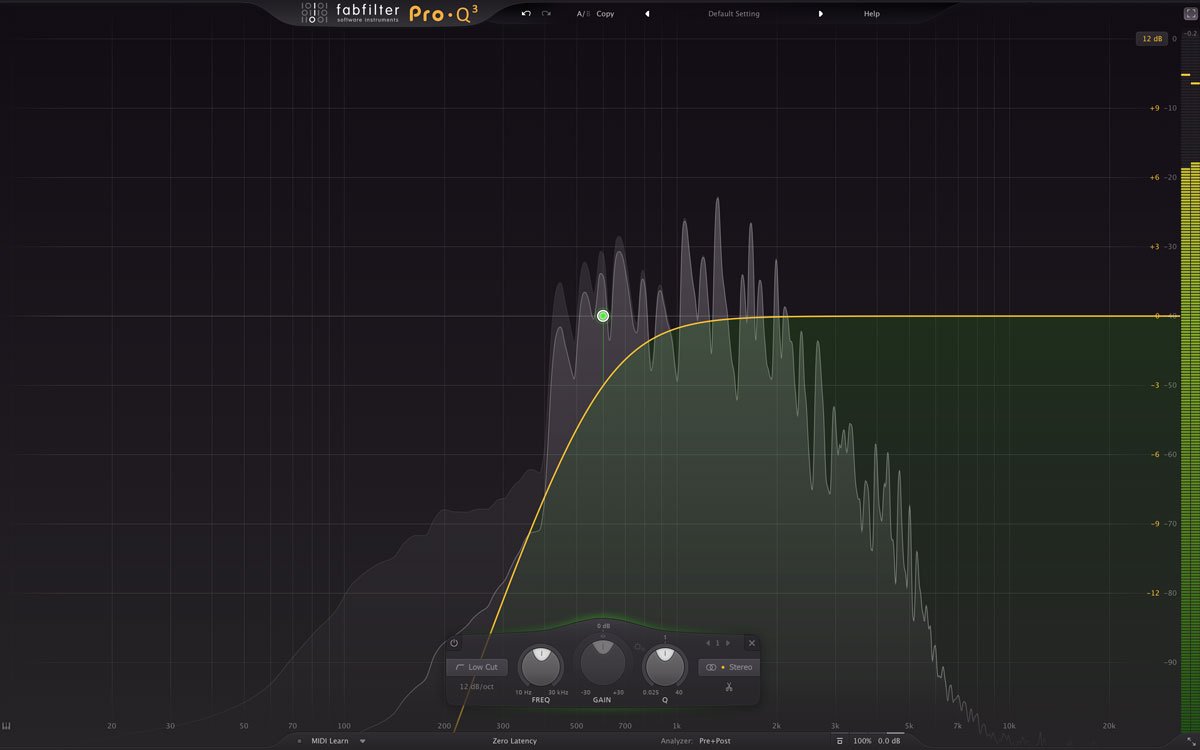
High and low pass filters are always subtractive, allowing us to reduce the energy above or below a given frequency (the cutoff frequency). The amount of reduction is expressed in dB per octave (dB/oct).
The names of these filters can sometimes cause confusion for new users, so let's take a moment to clarify some vocabulary. High pass filters, as the name suggests, allow high frequencies to pass, unaffected, while eliminating (or 'cutting') low frequencies below the cutoff frequency. This is why they are sometimes referred to as low cut filters. Conversely, low pass filters allow low frequencies to pass, unaffected, while cutting high frequencies above the cutoff frequency. This is why they are sometimes referred to as high cut filters. You will also see these filters abbreviated as HPF or LPF, respectively. If you use a high pass filter and a low pass filter in conjunction, they result in what is called a band pass filter (BPF). In this case, only frequencies between the two cutoff frequencies will be allowed to pass.
The high pass filter is a useful tool for getting rid of bleed or other non-musical sounds below the frequency range of an instrument. A high pass filter is often the first tool a mixing engineer will reach for when setting up a mix and familiarizing themselves with the signals present.
Low pass filters can be used to get rid of harmonic content (common when crafting a synthesized sound), to make a sound seem further away, or as a creative effect. In dance music in particular, automating the cutoff frequency on a high or low pass filter can be an effective way to introduce a feeling of movement between transitions.
Band pass filters can be useful for making a sound seem like it is coming from a bandwidth-limited device, such as a radio or small speaker.
High and low shelf filters
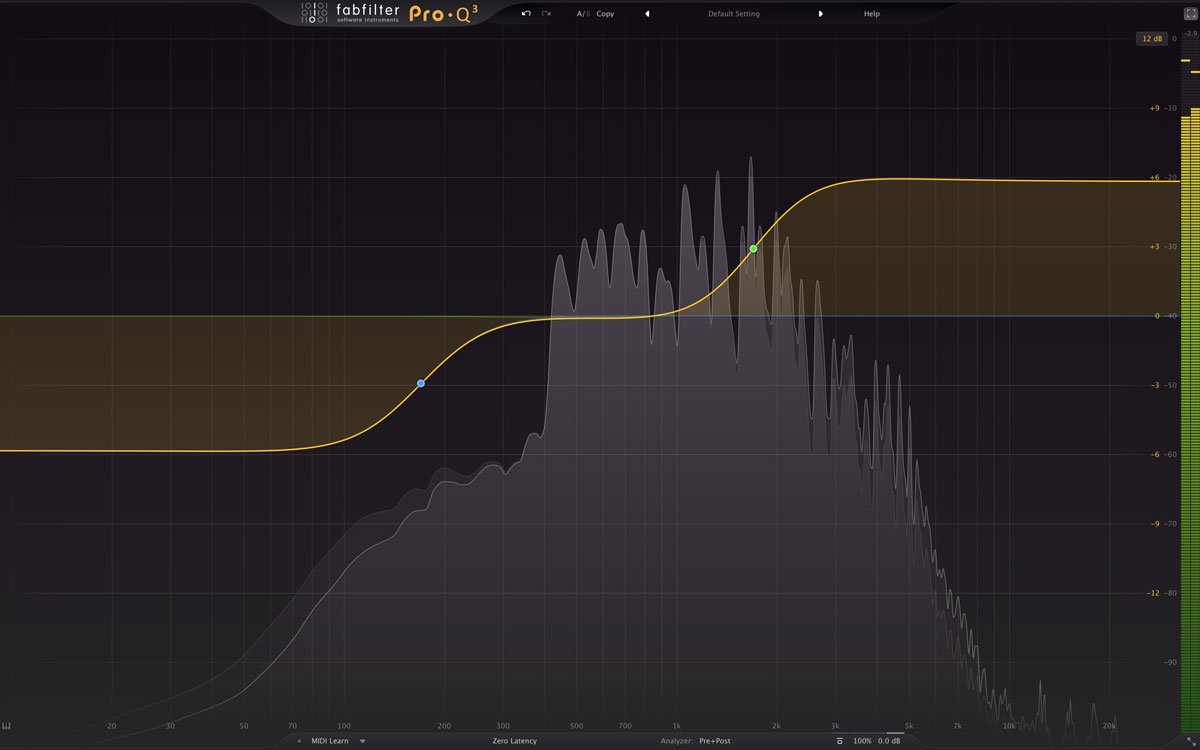
A shelving filter is probably the most commonly used filter and can be either additive or subtractive. A high shelf will allow the user to boost or cut all frequencies above a cutoff frequency, while a low shelf will allow the user to boost or cut all frequencies below a cutoff frequency.
As you may have guessed, these are the filter types behind the aforementioned treble and bass controls in many consumer electronics. In these implementations, the user typically has control over the amount of boost or cut imparted by the filter, but not which frequencies are affected. Most professional shelving equalizers will allow you to manipulate both the cutoff frequency and the amount of boost/cut (gain), making this type of filter a very versatile tool.
While a shelving EQ is great for changing the overall character of a sound, it lacks the specificity to make surgical adjustments or deal with resonances. For these tasks, you will need a bell filter.
Bell filters
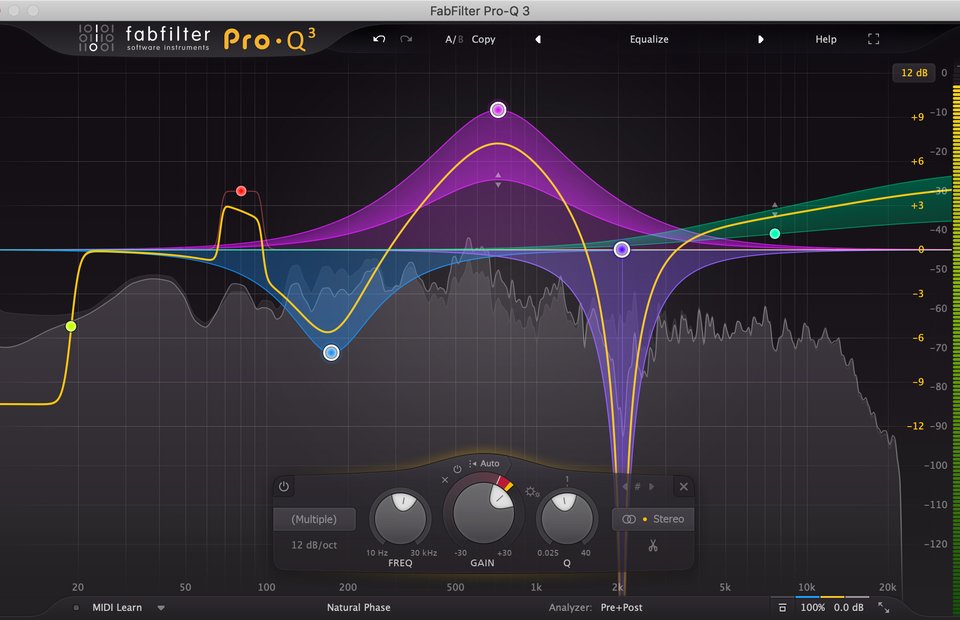
Bell filters can be additive or subtractive, allowing you to boost or cut a specified range of frequencies around a center frequency. Bells are the most flexible type of filter available as these filters will allow you to define the affected range more precisely than any other filter type. A parametric bell filter typically offers three parameters; frequency, gain and Q.
- Frequency - this control allows us to define the center frequency of the filter.
- Gain - this control allows us to choose the amplitude by which to increase or decrease the selected center frequency.
- Q - this control allows us to adjust the bandwidth of frequencies that are being affected. The inclusion of this feature is what makes a bell filter 'fully parametric'.
How to start applying EQ?
How specific frequencies contribute to the overall character of an instrument is by far the most important thing to learn when you're just starting out using an EQ. Since there are many variations of each instrument and a broad spectrum of frequencies to control (20 Hz to 20 kHz), it will take some time to understand how a given instrument's spectrum contributes to its particular character (check out our frequency range characteristics article for additional reference). A common technique used to familiarize oneself with a sound is to temporarily boost a range of frequencies using a bell filter and then slowly sweep up and down the frequency spectrum. This will exaggerate one area of the sound's spectrum, making it easier to distinguish from the others. With practice, you will be able to identify when parts of a sound's spectrum are under- or overrepresented, which will help you to make EQ decisions more efficiently in a mix situation.
Though the above exercise is a great learning tool, beware of applying EQ changes to a track in solo mode. It is OK to explore a sound in solo mode to better understand it, but remember that ultimately, what matters most is how a sound fits into the overall context of a mix. A good rule of thumb is that every action probably affects something else in your mix. For example, if your vocal sounds good but the snare drum sounds dull, equalizing the snare drum will most likely affect how the vocal sits in the mix and vice versa.
It is good practice to check if you can achieve a good overall balance before inserting any EQ at all. Since everything is about context, you're more likely to craft a good mix if you're mixing sounds in relation to one another as opposed to making instruments sound great in isolation.
Another crucial step before applying any EQ is making sure that you have made the most out of the arrangement. An arrangement which avoids too much density in one part of the frequency spectrum will most likely require less EQ, and will make the mixing process quicker and easier.
Three approaches
Here are three ways you can approach your EQ decisions. These techniques can be used alone or in combination.
Use EQ to get rid of unwanted artefacts/frequencies
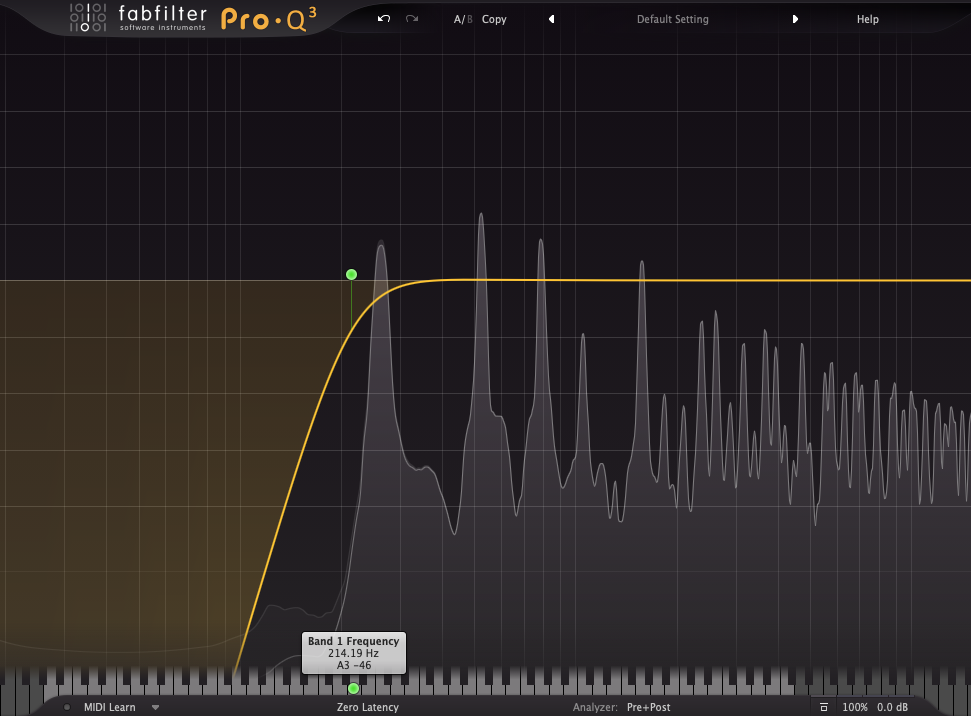
A common approach is to use high pass filters to clean up any non-musical sounds below a given sound source's frequency range. This can help avoid bleed or other distracting sounds from taking up space in the mix. Some EQs, like Pro-Q 3 offer a piano roll feature to identify which musical note corresponds to which frequency. If you know the lowest note played by that instrument in the song, this tool can help to quickly identify the corresponding frequency, allowing you to place the cut-off frequency of an HPF at or just below this frequency.
You can also achieve the same thing by ear. Use a high pass filter (try 18dB/Oct), and adjust the frequency until you start to hear the effect of the filter. Once you hear the HPF removing some low frequencies, dial it back a bit from there.
With either technique, the main goal of this process is to get rid of any unnecessary frequencies without altering the musical properties of the sound source. This can have a substantial impact on the mix and as such, it's a great place to start.
Use EQ to make a signal fit into a mix
After you've gotten rid of unwanted frequencies and readjusted your overall balance, there is still a possibility that it will be difficult to find a good volume for a particular instrument. For example, turning up the drums makes you want to turn up the bass, turning up the bass will make you want to turn up your keys, turning up your keys makes you want to turn up the vocal, and so on. In this case some instruments or sounds are probably fighting over the same frequency region. Adding a complimentary cut or boost will likely free up space for the instrument you want to occupy that particular frequency range. A classic example of this situation and how to deal with it is shown in our EQ video tutorials:
For further reference on understanding frequencies and masking, check out the article Perception of frequency and loudness.
Use EQ to emphasize certain aspects of a sound
An EQ is a great tool to highlight certain aspects of a sound. For example, let's say you've recorded an acoustic guitar with a ribbon microphone but it sounds a bit dull in the context of your mix. Using an additive high shelf filter allows you to recover some of the high end of the instrument which can help it to stand out in the mix.
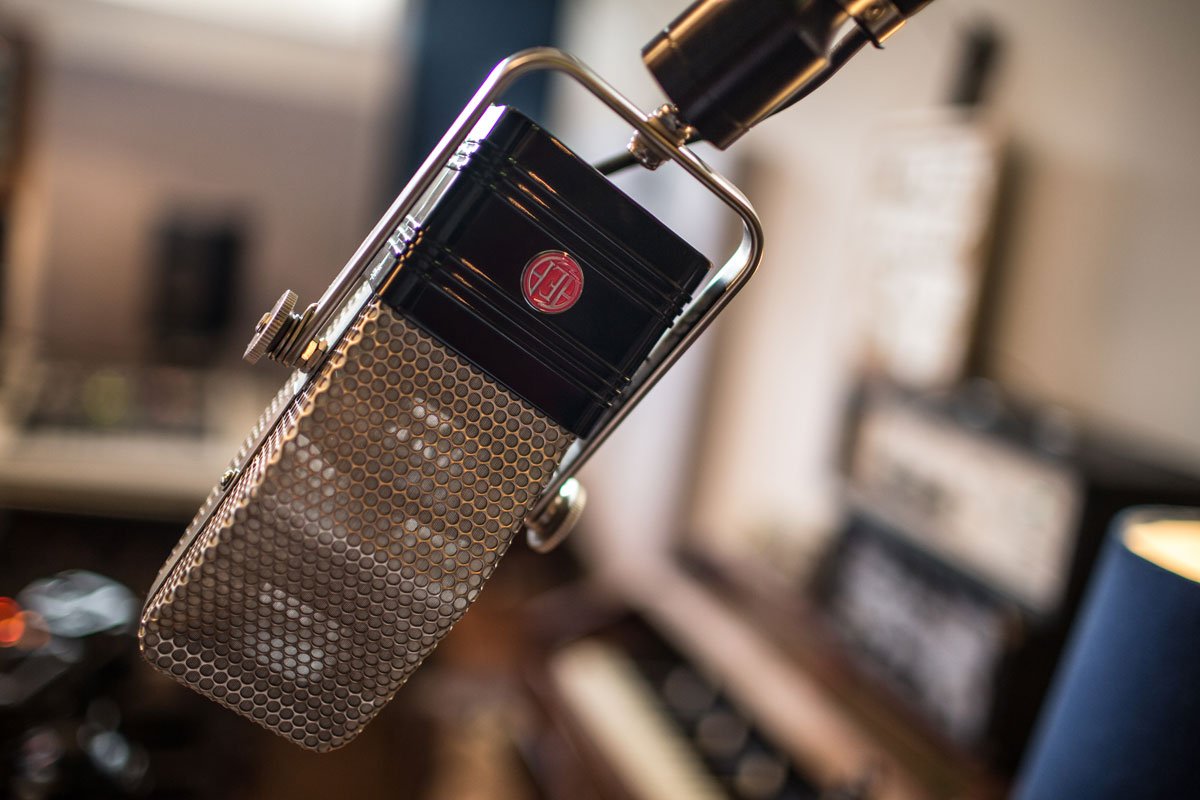
Since ribbon microphones exhibit a natural hi-end roll off, an EQ is a great tool to recover some of those frequencies. A subtle boost with a high shelf filter is often all that is required.
There are no rules when applying EQ changes to your sound: it all depends on the context and how you want your instruments to fit in your mix. Learning about the properties of each instrument in your mix will help you to understand how they work together in the arrangement and hopefully guide you towards better mixes. For additional reference on timbre of instruments, please see Timbre: Understanding and crafting complex sounds.
Looking for a good EQ plug-in? Check out FabFilter Pro-Q 3, our award-winning equalizer with great sound and a superb workflow.