FabFilter Twin 3 online help
Table of contents
Go to sectionFabFilter Twin 3 Help
Introduction
Using FabFilter Twin 3
Drag-and-drop modulation slots
Polyphony, unison and microtuning
Full Screen mode, resizing and scaling
Presets
Purchasing FabFilter Twin 3
Support
FX section
At the top right of the interface, Twin 3 features six high-quality, ready-to-use effect units, from lush, vintage reverb to heavy amp distortion. All effects have a distinct set of controls, and of course, everything can be modulated.
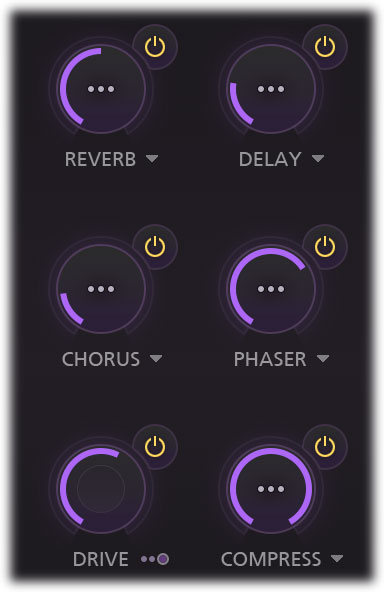
For each effect, you'll see a large Amount knob, and an Enable/Disable button.
The menu button  to the right of an effect label gives access to presets per effect. Clicking in the
center of the knobs will open a panel with options per effect. While dragging
to create modulation connections, you can hover above the knobs to open the panels.
Reverb
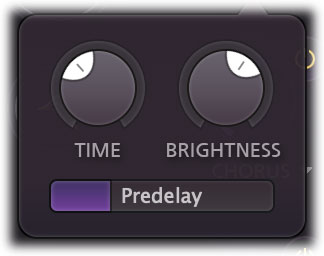
The vintage-sounding reverb unit has just a few controls, yet produces a wide palette of sounds. Using the Time knob you can set the decay time of the reverb between 200 milliseconds (very small room) and 20 seconds (cathedral). The Brightness knob changes the character from very dark, to shimmering bright. The Predelay slider sets the initial delay of the reverb, which can enhance the sense of space. Modulating Predelay will introduce analog-style tape pitch modulation, which can be used to make the reverb more chorus-like.
Delay
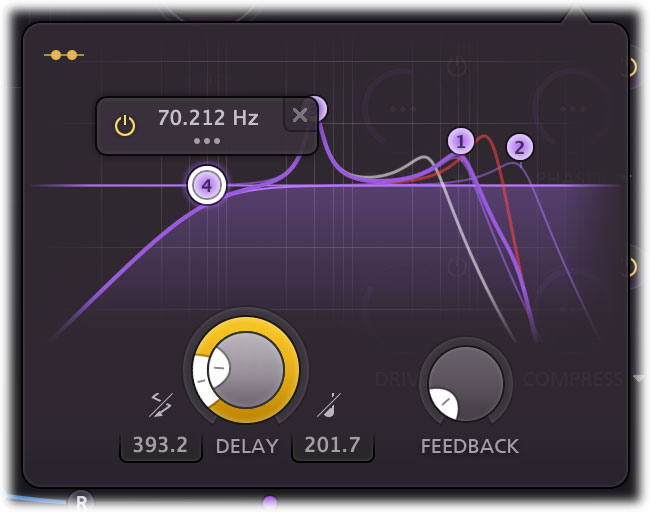
The delay unit offers a stereo delay line with delay time panning and feedback, combined with up to four multimode filters. These have the same specs as the synth's main filter, and can be added on the fly via the delay's filter display. See Filters for more information on the filter display. Of course, the delay time can be synched to host tempo, and ping pong modes are also available.
Chorus
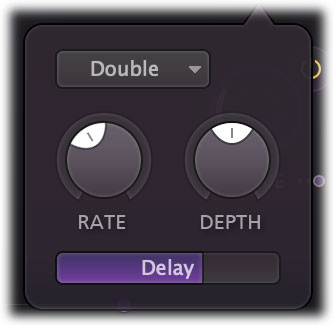
The Chorus unit can be used to add subtle stereo widening, implemented using slowly modulated delay lines. When Chorus Mode is set to Single, only one tap per channel is used, while Double uses two taps per channel, for a slightly richer sound. The modulation rate, depth and total delay range can of course be customized.
Phaser / Flanger
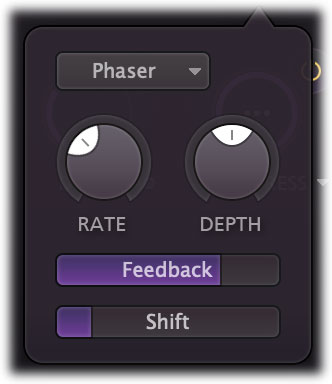
The classic phaser unit adds swirling phase modulation using a series of allpass filters with customizable modulation rate, depth and feedback. Higher rate or depth will make the effect more obvious while adding feedback will make it more pronounced.
When set to flanger mode, modulation is applied to a short delay line instead of allpass filtering, similar to a chorus but using much shorter delays and including feedback, which makes the effect more like a phaser: both create notch effects in your audio, but achieve this in a different way.
Using the shift slider, you can offset the phase of applied modulation in the left and right channels, which makes the effect sound wider.
Drive
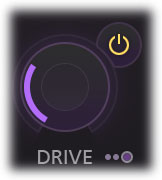
The one-knob Drive effect applies subtle to modest saturation in the lower half of the knob range, to obvious drive and screaming amp distortion in the upper half. Using the routing button at the right bottom of the knob, you can choose to route the drive before all other effects, or after all effects (and just before the final compression effect).
Compressor
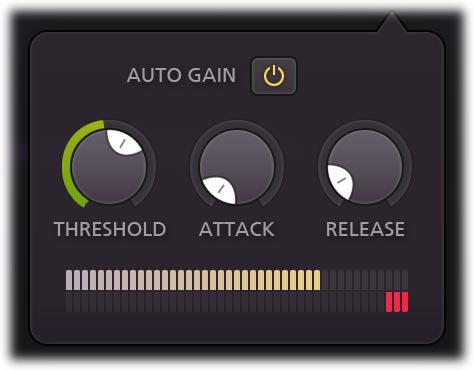
The compressor is the final effect unit in the chain. With customizable threshold and attack and release ranging from very fast to subtly slow, it can be either used to keep the output level under control, or to apply creative compression effects like pumping, etc.
When auto gain is enabled, automatic make-up gain is applied to the processed signal, depending on current settings for Threshold and Attack. Auto Gain helps you to keep the audible audio level the same while adjusting the controls.
The output and gain change level meters, as well as the input meter around the threshold knob, will help you to dial in the right values.
Tips
- Most of the FX controls can be modulated. Try it!
Next: Modulation
